The Ultimate Guide to a Clean Kitchen
The Ultimate Guide to a Clean Kitchen
Your kitchen is the hub of family activity. Here's literally everything you need to keep it spotless.
Written by Liz Bayardelle, PhD | See Comments | Updated 03/08/2019
Want to cut to the chase?
Ultimate Kitchen Cleaning Checklist
Want to cut to the chase?
Ultimate Kitchen Cleaning Checklist
Get the Free Printable Checklist Now
Get it NowThe Ultimate Guide to a Clean Kitchen
This post contains some affiliate links for your convenience. Click here to read my full disclosure policy.
Maybe you’ve been watching Mrs. Hinch or you’re harboring high hopes for the KonMari method.
Or maybe you just want to get on top of some of the chores in your home...
Either way, we all know from experience that the kitchen is one of the main problem areas and in any house. Not only is it more likely to get weird food stains, sticky messes, or other eating-related catastrophes, it's also usually a hub of congregation for the family. Where the family spends time, there is more likely to be clutter and mess.
Before We Start, Basic Principles
Develop a Process
Your kitchen will have “preferences” for how it wants to be cleaned.
Maybe a certain type of scrub brush as necessary to get to certain areas. Maybe you have a weird nook in your backsplash that collects oil when you cook. Maybe you need a specific type of floor cleaning equipment to get your floor to actually look clean.
Whatever it is, use each time you clean as an experiment. Do an after-action review for what worked and what didn't, and perfect your method the next time.
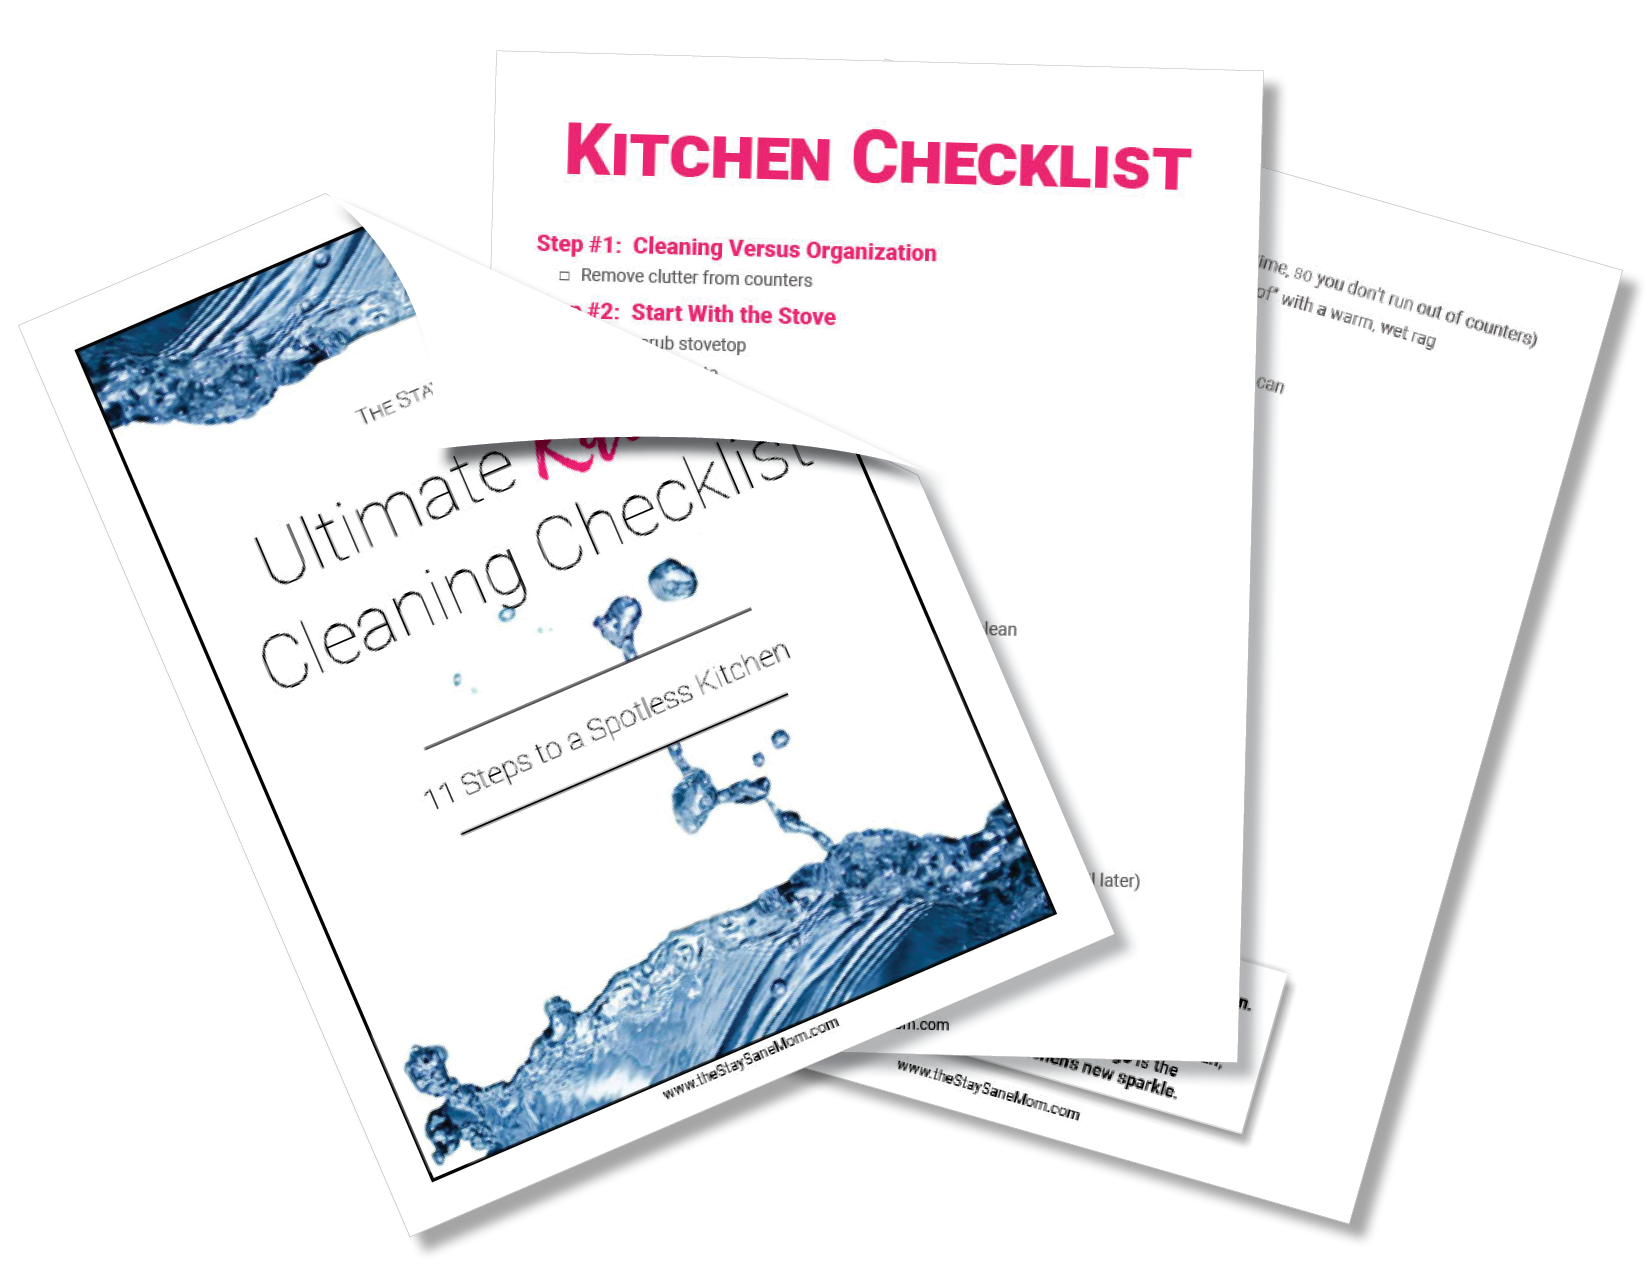
The following checklist will cover all of the necessary ground that is common to most kitchens. When you go to clean yours, use your printable kitchen cleaning checklist (yes, I made you a goody) to make sure you don't forget anything and to note down anything you want to remember next time.
Clean More Often
This is probably the most simple tip: clean as you go.
If you make a cup of tea, scrub the cup after you’re finished. Soak the pots and pans you have used to make the dinner, while you eat and once your finished scrub them, dry them, and put them away. Everything gets harder to clean when it is left to sit for a while - not to mention the stacking up of bacteria.
Also, there are certain items in your kitchen that never really recover if they reach a certain level of dirty. Once pans get crusty, I can't ever get them back to their original shape. The same goes for some of the stubborn stains that are baked on my oven. I just kind of had to accept them as new members of the family.
Being consistently vigilant about keeping things like this clean will save you a lot of annoyance in the long run.
And, as an added bonus, having things consistently clean will ward off future clutter and mess via the broken windows theory.
Paper to Cloth
Many of us are still reaching for paper towels to clean down the sides. Instead, swap out for a microfiber cloth. It can be used more often, you can scrub a little harder than with the paper towels too. They don’t break the bank and are easy to wash also.
Speaking of reusable things, your sponge can soak up a lot of bacteria. So, be sure to disinfect it when you need, and as soon as it is ripped or smelly - trash it.
Step 1: Cleaning versus Organization
This post deals more with cleaning than organization, but they really do go hand-in-hand in most circumstances. It makes no sense to organize things on top of a dirty surface, and there's usually no way to clean under clutter.
Thus, the first step in planning your kitchen is to get any of the clutter off of stuff. this means little knick-knacks on the counters, piles of bills, stacks of homework or books on the table, or other things that may have the accumulated. When I'm doing a deep cleaning I even take things like our coffee maker and toaster off the counters. Everything must go.
Step 2: Start With the Stove
When it comes to your kitchen, start with the stove top and move around the room from that point. The stove is usually the grubbiest part of the kitchen, so it pays to get it out the way first and then move on.

Also, make sure you use a separate set of rags or towels to clean your stove and the area around it.
Especially if you cook with oil, there are probably going to be things on your stove that would leave a film if you use the same rag for the rest of the kitchen. Do your stove detailing with one set of rags, throw those in the laundry, then clean the rest of your kitchen with fresh rags and you won't end up with oil smears all over everything.
Step 3: The Ominous Oven
Many people put off cleaning the oven for as long as possible - and that is precisely why it takes so long to do. Every week, during a deeper clean, make sure that your oven is given a good clean. This will help keep it less grubby.
There are a bunch of different “magic tricks” on the internet for how to get your oven sparkling clean. I have bought the crazy products on Instagram ads, I've tried the different formulas of household chemistry, nothing has really worked that well for me.
Get a very abrasive rag (or occasionally steel wool if there's a very stubborn stain) and use plain old dish soap and water to get stuff off.
The oven is another area that probably wants its own set of rags. Goodness knows what was crusted on the bottom of that thing.
Step 4: The Great Appliance Wipedown
You have way too many appliances and now you pay the price. When did you get a juicer? Whose idea was this?
Start with the microwave. Especially if you have any crusted up food in there, spray the inside liberally with an all-purpose cleaner (including the door) and let it sit while you clean the rest of your appliances.
It is at this point where you want to clean all those pesky crumbs out of the toaster, sanitize your coffee machine (if you need to run water or vinegar through it a few times you can leave it running while you continue cleaning), and take all the expired food out of the fridge.
Actually, while you’re in the fridge, take everything out and wipe down the shelves. Not only will this get rid of disgusting things you didn’t know were even hiding in there, you also get to reorganize everything as you put it back in. Win-win.
This also includes your dishwasher, which (as it helps you clean stuff) we often forget needs cleaning itself. Your dishwasher does a lot of heavy lifting when it comes to cleaning your kitchen. It needs some love and care to keep it ticking. While you’re cleaning, run an empty cycle complete with soap. You’ll be shocked at the difference it makes on the inside.
Now that you’re done, don’t forget to use a wet rag to clean out all the chemicals from the inside of your microwave.
Step 5: Disposal and Drain
Your drain will need some TLC too. Use something like Thrift drain cleaner to make sure that your drains are well done. Often food and other debris can get stuck and begin to smell. The disposal will also be prone to the same smells. You can pop some lemon, ice, and salt in there to whizz up and breakdown any lingering residues.
Step 6: Sink (Part 1)
The sink is typically super dirty. It makes sense right? Dirty dishes, cloths, sponges, sometimes food particles. Fill the sink with warm water and add a few splashes of vinegar, wait until you have finished the rest of the room to pull the plug.
Step 7: Cabinets
Oh joy. It’s time to take out all of the crap you’ve been vehemently denying is crammed in the back of your kitchen cabinets.
One by one, empty them out, use a warm water rag (or vinegar cut with water) and wipe down the insides. You don’t want to use the crazy, nuclear chemicals in here because so much of what goes inside is for food. The last thing you want shut in an enclosed space with your good plates is toxic chemicals.
(Actually, that’s second to last. A toddler is the last thing you’d want shut in an enclosed space with your good plates, but you get the point.)
Lastly, when you’re cleaning out your cabinets, don’t forget the inside and outside of the cabinet doors, the baseboards below the cabinets on the lower level, as well as the walls and “roof” of each enclosure. You’d be shocked where flung food or spilled coffee can be hiding.
P.S. You know that nasty area where the trash can lives? That's technically a cabinet two. Shake out your garbage bag, wipe out the inside of the trash can until all the remnants of the spilled garbage are gone, and clean the surrounding cabinets extra well. This is the one exemption to the “no chemicals in cabinets” rule because there are no plates or food objects in this cabinet, and it most certainly needs the chemical help.
Step 8: Sink (Part 2)
Now you get to pull the plug on the sink. Once the water drains, give it a few sprays of your favorite cleaner and give it a good scrub. Mineral oil on a soft cloth will make it gleam.
However, the most important part, especially with so-called “stainless” steel sinks is that you dry it off after you clean it. There are so many minerals and other dissolved goodies in our water that part of what’s making it look dirty is the water itself. Make it a habit to keep a “sink cloth” somewhere near your sink so you can easily wipe it dry after you rinse out the sink.
I swear you’ll be shocked how new it looks. This is one of my all-time favorite kitchen hacks.
Step 9: Counters
Now that you have all your appliances clean, you want to put them back on to clean counters.
I have tried numerous counter cleaners, but I find that nothing works quite as well as a little bit of dish soap and a lot of water and scrubbing.
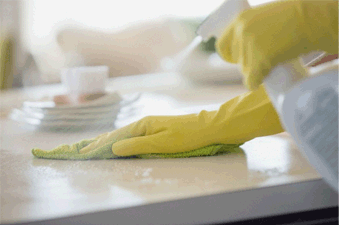
Whatever your counter cleaning chemical of preference is, you want to make sure you get everything off the counters so you can do a thorough scrubbing. If you have a waterproof backsplash, make sure you scrub that as well.
As was the case with your sink, the most important part of a shiny clean counter is drying it off after you're done cleaning.
Once the counter is clean, you can start replacing your clean appliances in their natural habitats.
Step 10: Floors
You want to save the floors for last because anytime anything dirty falls off while you're cleaning, guess where it's going to land.
How deep you go down the floor cleaning wormhole will depend on the level of dirt on your floors and the type of floors you have. We have hardwood floors with pretty deep indentations between the boards that are perfect for gathering all kinds of dirt, grime, and spilled whatever it is (which I hate with the fire of a thousand suns, if you can't tell).

When it comes time to clean my floors, I have a rotary wet-dry vacuum that has spinning brush attachments as it squirts water onto your floors, spins it around, and sucks it up. This is good for levels 5 to 8 of dirty, but if my house is level 10 dirty I really am just going to have to get on my hands and knees with a scrub brush. There's no substitution for manual labor.
Is there just maintenance, Swiffer or hand clean the really really high traffic areas, but just vacuum the rest. It kind of depends on your situation how crazy you want to get on the floors.
Step 11: Organization
Now that the “ cleaning” portion of the event is complete, you can now go about organizing your kitchen.
This is an entirely different post, but I will tell you that there's nothing feels better than properly organizing your kitchen knowing there is absolutely no dirt will lurking in the hidden corners.
Don't Forget your present!
Don't forget to print out the attached kitchen cleaning checklist.
It'll help you remember all of this stuff, with space to put notes on what works for your specific kitchen, what you want to do differently next time, or anything you didn't get around to cleaning.
Drop a comment down below with how it works!
Start Your Next Step
Ultimate Kitchen Cleaning Checklist

Start Your Next Step
Ultimate Kitchen Cleaning Checklist
Get the Free Printable Checklist Now
Get it NowGet Sanity, Delivered to Your Inbox.
Care to Share?
About the Author

Liz Bayardelle, PhD
Founder | Contributor
Liz (or Dr. Mommy, as her toddler started calling her after learning what a PhD was) is the happily sleep-deprived mom of a toddler (and professional raccoon noise impersonator), a sparkle-clad kidnado, a teenage stepdaughter, 200 cumulative pounds of dog, and herd of dustbunnies (if daily vacuuming doesn't occur). During nights and naptimes, she uses her PhD in business psychology as an author, speaker, and consultant. She also serves as an executive and principal for three companies, two of which she co-founded with her very patient (and equally exhausted) husband.


